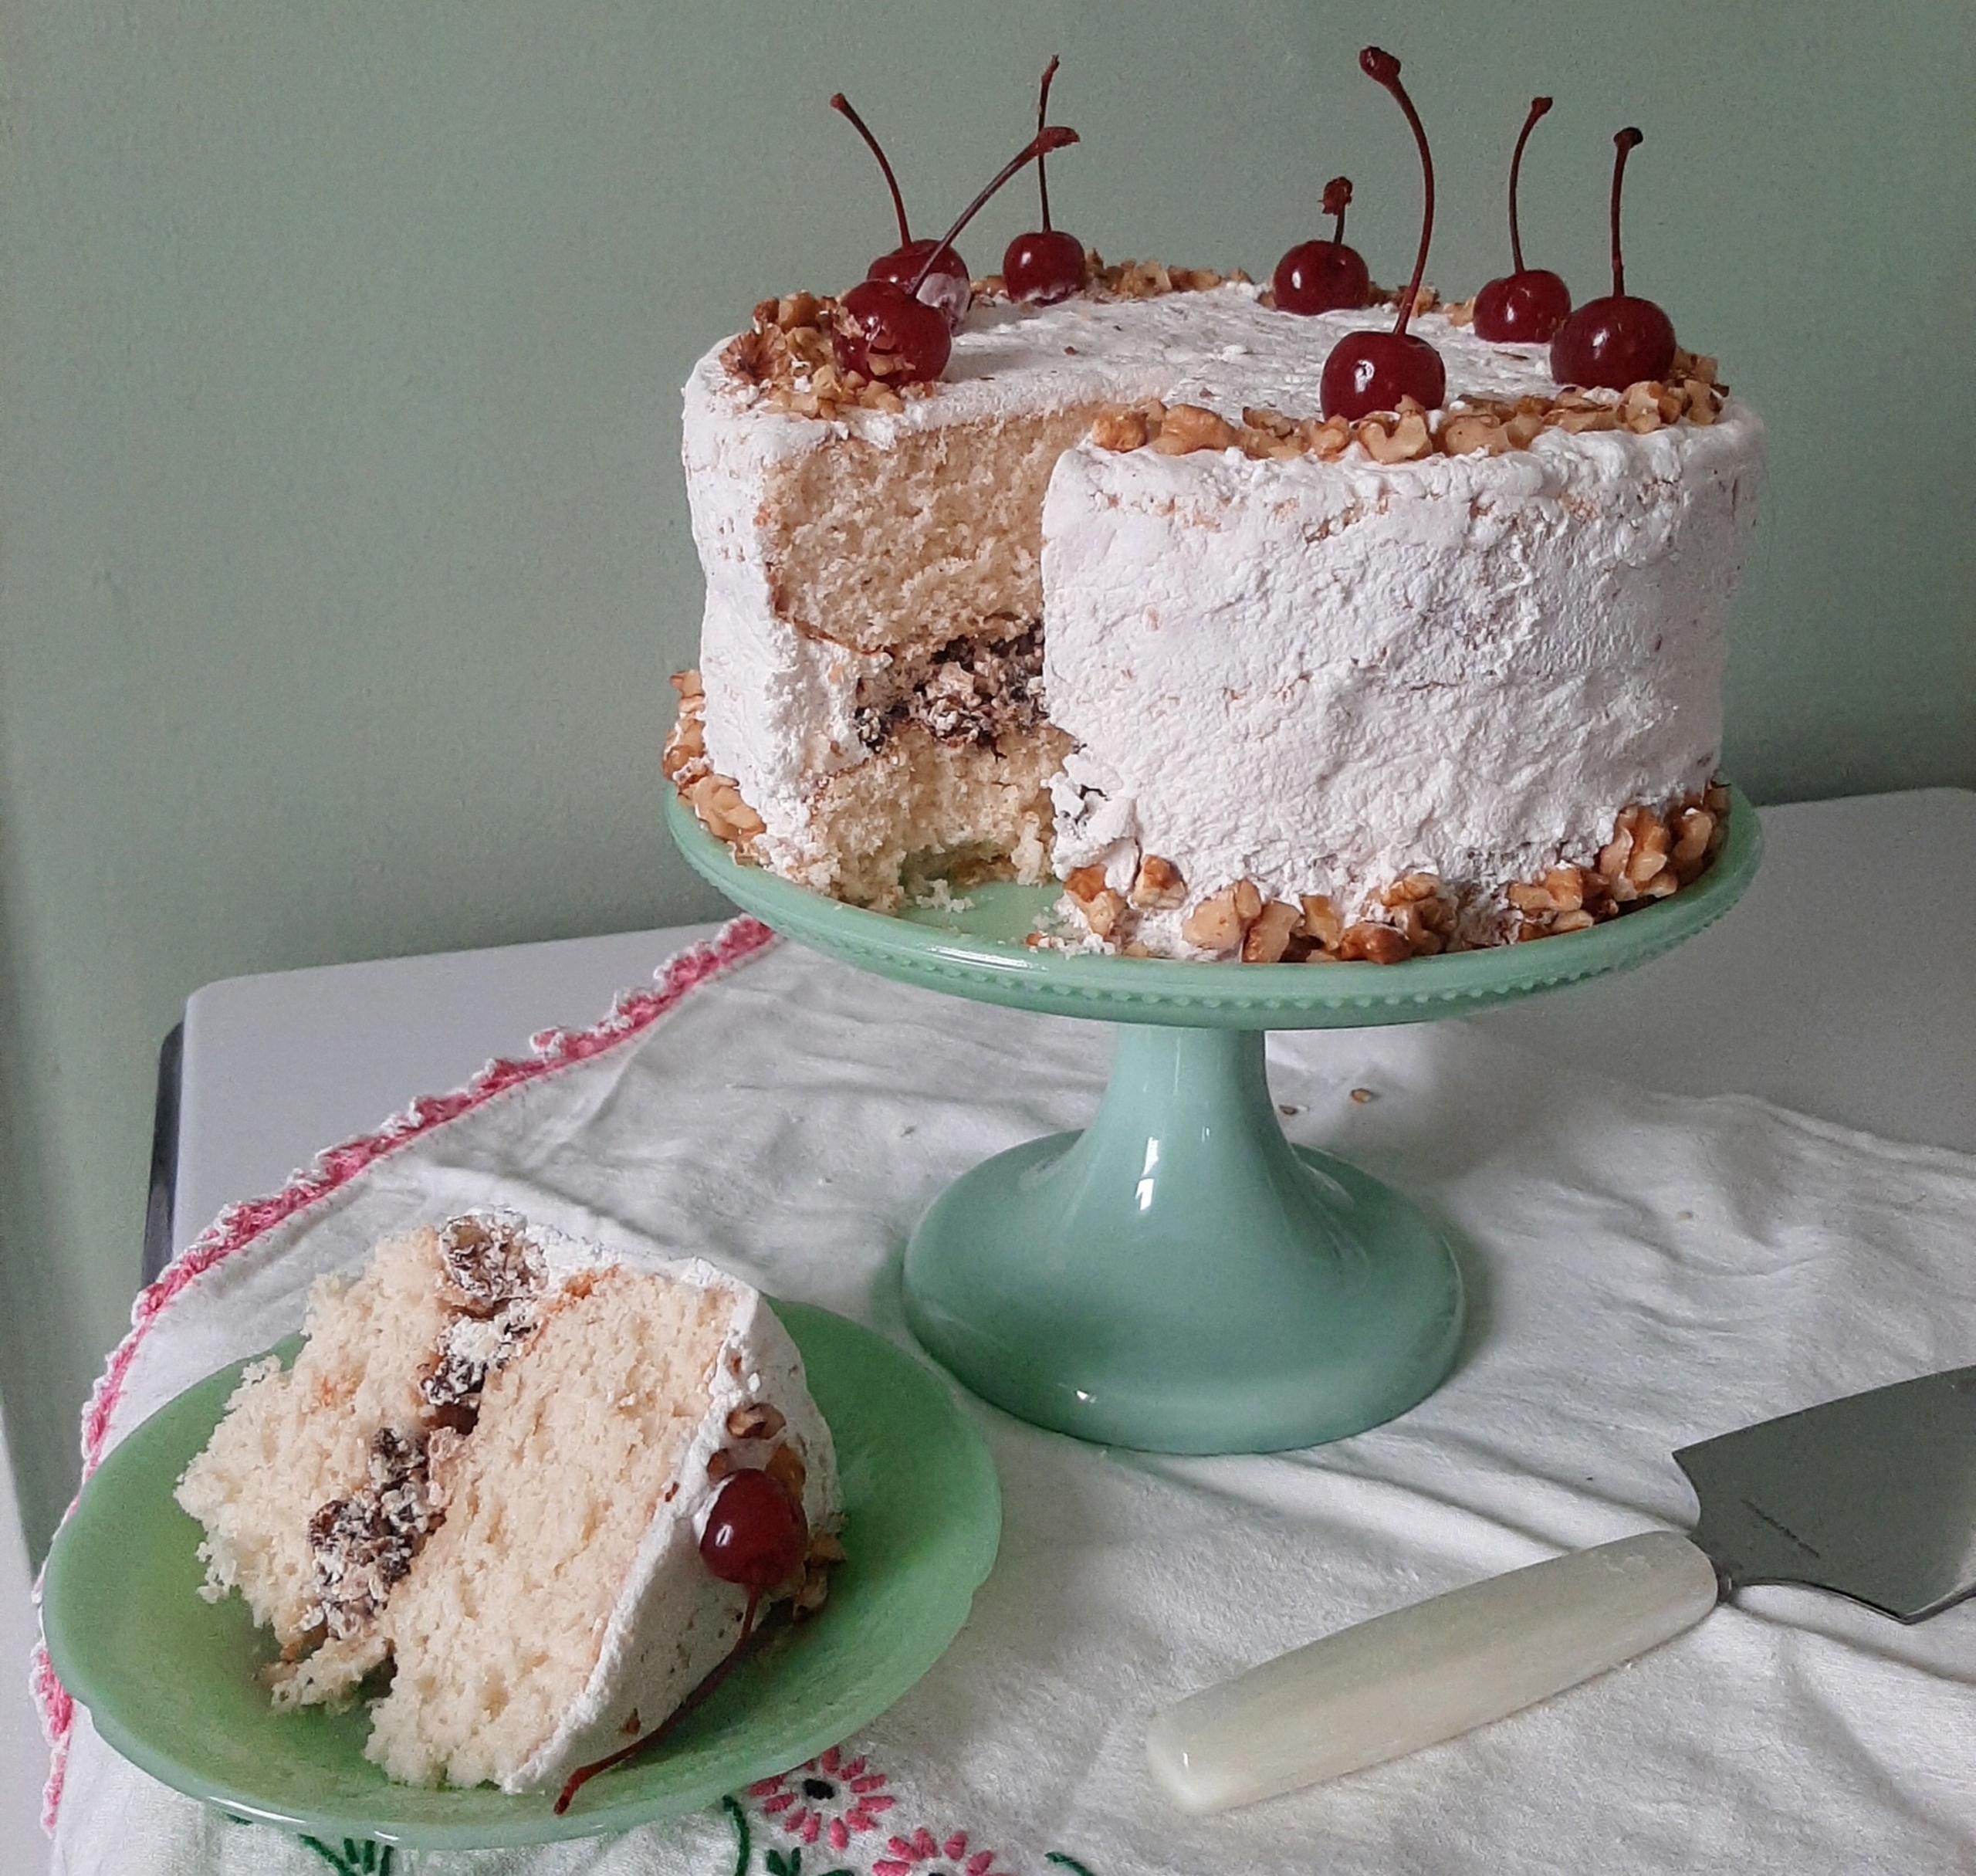
This cake is devilishly delicious and chock-full of rich, smooth, chocolaty flavor. It’s everything you’d want from a chocolate cake, complete with a creamy chocolate fudge icing. Its full-flavored charm and balanced sweetness make for a scrumptious Halloween treat, just in time for a costume party or a scary movie marathon.
Ingredients for the cake:
2 cup sugar, divided
4 oz 100% cacao chocolate
1 cup of milk, divided
4 eggs
2 cups cake flour
½ cup butter, room temperature
2 tbsp baking soda
1 tsp vanilla extract
¼ tsp salt
Ingredients for the frosting:
1 1/4 cup powdered sugar
¼ cup butter
4 oz semisweet chocolate
¼ cup milk
1 egg
1 tsp vanilla extract
Instructions:
Before you begin, set your butter out on the countertop so it can reach room temperature.
Preheat your oven to 350 °F.
Prepare three 8-inch cake pans by greasing them and lining the bottom with parchment paper. To do this, you’ll need parchment paper, scissors, and a pencil. Trace the bottom of the cake pan on the parchment paper and cut out the circle. If it doesn’t fit perfectly inside the bottom, that’s ok, as long as it covers most of it. If it’s too big, you can shave it down a little more with the scissors. Once you have your rounds of parchment paper cut, grease your pan on the bottom and the sides. I used butter on mine to keep the flavors consistent. Once greased, press the parchment rounds into the bottom, and they’ll stick down due to the butter. * You may notice that the cake in the photos only has two layers. I found out the hard way that this cake rises quite a bit more than you’d think, and requires three pans. So, use three pans; the bottom of your oven will thank you. *
Next, prepare your dry ingredients. Add your cake flour, baking soda, and salt to a medium mixing bowl and sift them together. Set it aside.
Now, to begin making your devil’s food cake batter, start by melting the chocolate using a double boiler. If you don’t have a double boiler, you can make one using a large pot and a heat-safe bowl that fits on top of the pot without falling inside of it. You should use the largest heat-safe mixing bowl you have, as you’ll need the space when you combine all the wet and dry ingredients later on.
Take the large pot and fill it up halfway with water. Bring the water to a boil and place the heat-safe bowl over the pot.
Chop or break 4 ounces of 100% cacao into pieces, then add them to the double boiler. Wait until they’ve melted completely before you add anything else. Stir frequently to prevent it from burning on the bottom.
When the chocolate has melted completely, add your sugar and stir until combined.
Beat one egg in a separate bowl, then add the beaten egg and ½ cup of milk. Stir until combined and the mixture has thickened.
Remove the double boiler from heat and set aside.
Now it’s time to work on your other wet ingredients. You’ll begin by separating the yolks from the whites of your remaining three eggs.
First, have two medium mixing bowls at the ready. You will put your egg yolks in one bowl, and your egg whites in the other bowl. I recommend breaking your eggs very gently, so as to not pierce the yolk. After it’s broken, hold the egg over your egg white bowl and pour it into your hand very gingerly. Allow the egg whites to fall from the spaces between your fingers and down into the bowl. Pass the egg yolk between your hands very gently until all the white has fallen into the bowl. Then gently set the remaining yolk into your egg yolk bowl. Repeat this process for all three eggs. Set them aside for now.
Next, add your butter to a medium sized bowl and beat it until smooth and creamy with a hand mixer.
Once the butter is smooth, add your sugar and beat until it’s well combined and fluffy.
Add your egg yolks and vanilla extract to the butter mixture, beating until combined with the hand mixer once more. Set aside.
For the final component of the cake, you’ll need to whip the egg whites you separated earlier.
Using a hand mixer on high speed, whip the egg whites until they reach stiff peaks. This usually takes about 5 minutes or more, depending on your hand mixer. Once beaten to stiff peaks, set them aside and prepare to assemble your cake batter.
Have your chocolate mixture, butter mixture, flour mixture, and egg whites at the ready.
Pour half of the flour mixture into the chocolate mixture and stir until mostly combined. Alternate and repeat this process with the butter mixture until you’ve run out of each.
Gently fold in the egg whites and stir them in a figure-eight motion until mostly combined. Be careful not to overmix.
Carefully pour ⅓ of your cake batter into each of your three cake pans. Swish them side-to-side to help distribute the batter evenly.
Bake for 30 minutes, or until a fork inserted in the center comes out clean.
While your cakes are baking, you can work on your icing.
You’ll begin by creating a double boiler once again, using the same method as before.
Chop your 4 ounces of semisweet chocolate and melt them in the double boiler. Stir frequently to prevent the chocolate from burning on the bottom.
While your chocolate is melting, beat one egg in a separate bowl and set it aside.
Add your milk and butter to the chocolate and stir until combined.
Gently pour in your powdered sugar and stir until combined.
Remove your chocolate mixture from the double boiler and whisk in your beaten egg, quickly, to prevent it from scrambling.
Transfer your icing in a container with an airtight lid. Before putting the lid on, allow the icing to cool down to room temperature. After it’s cooled, you can put the lid on and set it in the refrigerator until you’re ready to ice your cake.
Once your cakes have finished baking, remove them from the heat and allow them to cool completely before icing them.
To make this cake the prettiest it can be, I recommend doing a crumb coat.
This means that you will assemble the cake and put icing between the layers like you normally would, but you do a thin layer of icing on the outside. You will scrap this icing carefully, but firmly, onto the sides of the cake. You should reserve about half of your icing to use later.
Then, rather than covering it in a thick layer of icing right away, you will put it straight into the refrigerator and leave it in overnight. This allows that first layer of thin icing to stick to the cake and glue any flyaway crumbs into place, and leaves you with a cleaner finish on your second icing.
In the morning, or whenever you decide, you can use the remaining icing to cover the cake more completely. It’s also much easier to swirl in a design, like the cake pictured above, without bringing the crumbs up to the surface.
Once it’s all frosted and ready, slice up your cake and enjoy this delicious chocolaty treat.


