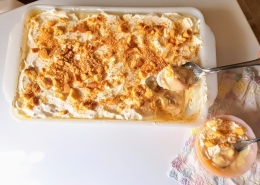
No-Churn Peach Ice Cream
We can’t think of a better way to enjoy the flavors of summer than cooling off with homemade ice cream with fresh fruit. This recipe requires just a few simple ingredients and a hand mixer, so it’s a perfect set-it-and-forget-it recipe for the heat of August in Virginia. Because this ice cream doesn’t have any extra stabilizers in it, it freezes up quite solidly. You’ll want to leave it out for 5-10 minutes to thaw a bit before serving, after which it will be soft enough to scoop and enjoy a refreshing treat.
Ingredients: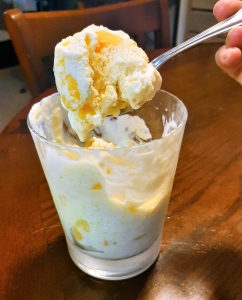
8 ripe peaches
2 cups heavy cream
(1) 14 oz can sweetened condensed milk, chilled
2 tsp vanilla extract
⅛ tsp of salt
Instructions:
Put your sweetened condensed milk in the refrigerator to chill.
Wash and peel your peaches. Slice them into wedges. Roughly chop them and set them aside.
This is an optional step, but if you have a blender or food processor you can blend half of your chopped peaches. This will give your ice cream base a more powerful peach flavor than just using the chopped peaches. If you decide to blend half your peaches set them aside with your other peaches while you make the whipped cream.
In a large bowl, add your heavy cream, salt, and vanilla extract. Whip your heavy cream to stiff peaks, but be careful not to whip it too long and curdle it. You should stop right after the cream has doubled in size and has become stiff in the bowl.
Add your chilled sweetened condensed milk. Gently stir in a “figure 8” motion to keep from flattening the air out of your whipped cream.
Once the sweetened condensed milk is incorporated, add your chopped peaches and blended peaches if you chose to do that step.
Gently incorporate the peaches by stirring in a “figure 8” motion.
Transfer into a freezer-safe container that can hold up to 6 cups volume and cover with the container’s lid or plastic wrap. If you don’t have a container that will hold that volume, you can easily transfer it into 2 different containers. I recommend using 2 loaf pans and covering them with plastic wrap. You can always send the extra container off with someone else to share.
Put your ice cream in the freezer to set overnight or at least for 8 hours.
Allow the ice cream to thaw for about 5-10 minutes before serving and enjoy!